
To make this set you will need:
PSP and Animation Shop
Both are sold by Corel
A tube and a close-up
I used art by Keith Garvey-
You can get Tubes and License from MPT
Please do not use without proper license
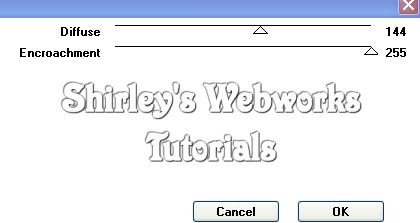
Xero- Porcelain
MuRa Meister-Copies
Photo Tools-Frosted Edger Black
DSB Flux-Bright Noise
Ready?
Lets Begin!
New Image-600x250-Transparent
Choose a light color for your foreground and a dark color for your background
On the foreground, make a foreground/background gradient-angle 45, Repeats 1, invert checked
Fill with your gradient-Add Noise -Uniform, 50, Mochrome Checked
Adjust Blur, Radial Blur

Edge effects-enhance, erode, enhance
Adjust Blur, Motion Blur-45-100% -Edge effects-enhance
Photo Tools-Frosted Edger Black
Text tool- Light color in BG-FG Null
I used Impact size 9 -type OoohLaLa- Objects-Align-Center in canvas
MuRa Meister Copies- Tiling-Tile Gap 2-blend mode soft light
Rectangle tool- FG Null-Bg your Dark color
Make a rectangle across the center of your tag- Objects-Align-Center in canvas
Rasterize-Xero Porcelain-Blue Channel to 0-Red Channel to 255
Text tool- Light color in BG-FG Null
I used Impact size 72 -type OoohLaLa-Pull on the handles to make it fit inside rectangle
Blend mode to Overlay-Effects-Texture Effects-Blinds
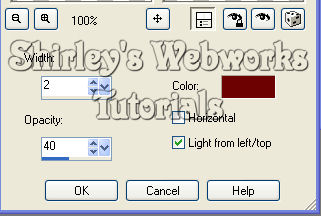
For the color, use your Dark color -Add a small Drop Shadow
Highlight your Tiling layer-Paste your Close-Up
Move her so she's looking over the rectangle-Blend mode to Luminance
Add a blurry Drop Shadow if you like
Highlight top layer- Paste your tube and move to the left
Drop Shadow-5, 5, 50 and 18
Crop your tag
New Layer- Fill with your Gradient-select all-contract 4-delete-deselect
New Layer-Fill with your Dark color- select all-contract 2-delete-deselect
Merge these 2 borders together- Drop Shadow-1, 1, 50, 1 -again with the V & H -1
Time to add your name, CR info and License#'s if necessary
Hide BG and Tiling layers and merge the rest of the layers together
So now you should have 3 layers -Bg, Tiling and everything else in the top layer
If you decide not to animate-you're finished- Just save as a .jpg
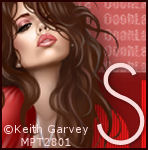
For the Avatar, copy merged and paste it as a new image,
then use the crop tool to crop out the part you want and add your initial and CR Info and License #
Then add a 2 pixel border in the dark color and save as a jpg
Animation
Duplicate the Tiling Layer twice for a total of 3 layers
DSB Flux-Bright Noise 61-Mix checked on all 3 layers
Hit the mix button once each time
Animate as usual
If you don't know how, I've written a little mini-tut to show you Here
If you try my Tutorial I would love to see your results.
Please a link in the comments section on my BLOG
Tutorial, Tags/Avis ©Shirley Franklin / www.shirleyswebworks.com
