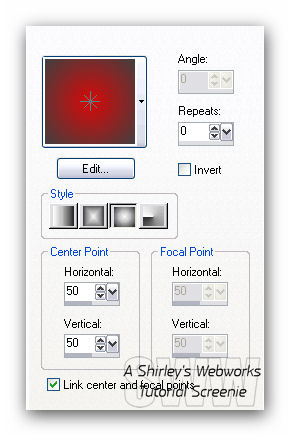
May 20, 2011 To create this Forum Set you will need A Tube of Choice I used Art by Barbara Jensen Tubes and License available Here Do not use this art without a proper license Xenofex 2 - Constellation L en K - Trouble Toadie's - Blast 'em Font of Choice I used P22 Chai Tea Pro (Pay Font) Ready? Let's Begin! Choose a Bright Color from your Tube for your FG Make your BG #404040 On the FG - Make this Gradient
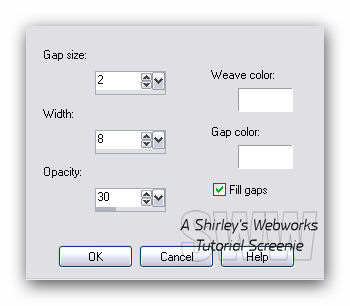
New Image - 600x250 Fill with your Gradient Effects - Texture Effects - Weave
Duplicate Layer On the Duplicate - L en K - Trouble
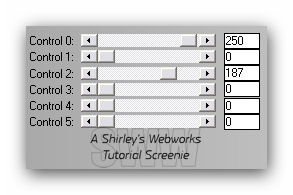
Change the Blend Mode to Overlay and Merge Down Duplicate Layer On the Duplicate - Toadie's - Blast 'em Diffuse 20 - Transparency 211 Pull the Opacity Down to around 60 and Merge Down
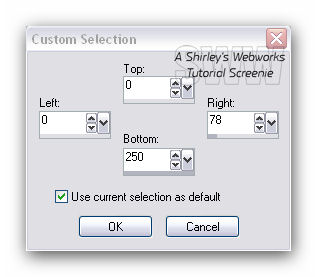
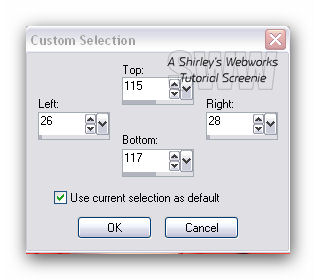
New Layer Selection Tool - Custom Selection
Fill with the same Gradient Effects - Texture Effects - Weave - Same Settings as above Duplicate Layer On the Duplicate - L en K - Trouble - Same Settings as above Blend Mode - Overlay - Merge Down Deselect Duplicate - Mover Tool - Click on the Duplicate Hit your Left Arrow Key 15 Times
On each of the two Selection Layers Drop Shadow - 0, 0, 50 and 5 Merge these two Layers Together
Highlight your BG Layer Paste your Tube as a New Layer and Position as Desired Drop Shadow of Choice - Crop your Tag New Layer Fill with Black or a very dark color from your Tube Select All - Contract 1 - Delete - Deselect Time to add your Name, CR Info and License# if necessary Hide your BG and Selection Layer Merge Visible Highlight your Selection Layer Custom Selection
Selections - Modify - Select Color Range Softness and Tolerance 20 - Color White - Add Checked Duplicate this Layer Twice for a Total of Three Layers On each of these - Xenofex - Constellation
Hit the Random Seed Button once for each Layer Now we're ready to animate, but lets make our avi first
Avatar Shift+D to copy your Tag Remove all layers except the BG and the Constellation Layers Crop to 150x150 New Layer - Send to Top Make your 1px Border like you did for your Tag Add your Name or Initial Animate as you did for the Tag
ANIMATION Hide your top two Constellation Layers - Edit - Copy Merged In Animation shop - Edit- Paste as new animation Back in PSP Hide the bottom Constellation Layer and unhide the middle one Edit - Copy merged In Animation shop - Edit - Paste after current frame Back in PSP Hide the middle Constellation Layer and unhide the top one Edit-copy merged In Animation shop - Edit- Paste after current frame View animation- If you like it, save as a gif and you're done!
Sample Set:
A second Set using Art by Ismael Rac Tubes and License available Here
If you try my tutorials, I would love to see your results Please post a link in the comments section on my Blog
Tutorial idea Tags/Avis ©Shirley Franklin http://www.shirleyswebworks.com
|