You'll need a Tube and a Close-up I used art by Verymany Tubes and Licence available HERE DSB Flux - Bright Noise
Ready? Let's Begin!
Choose a medium color for your FG Choose a lighter shade of the same color for your BG Make a Linear Gradient on the FG Angle 145 - Repeats 3 New Image - 800X600 Fill with your Gradient
Select All - Contract 30 - Promote Selection Contract 30 - Promote Selection Contract 30 - Promote Selection - Deselect Now you should have 4 Layers
Change your FG to Color
Change to Target Brush
Select the Layer just above the BG Hold down the Left Mouse Button and paint all over that Layer Select the Top Layer Hold down the Left Mouse Button and paint all over that Layer Select the BG Layer Adjuse - Add Noise Uniform - 100% - Monochrome Checked - TWICE Effects - Reflection Effects - Pattern
Select the Next Layer up Drop Shadow - 5, 5, 53 and 14 - Color Black
Select the Next Layer up Duplicate Twice for a total of Three of these Layers On each of these Layers DSB Flux - Bright Noise 40 - Mix Checked Hit the Mix Button once for each Layer Drop Shadow - 5, 5, 53 and 14 on each Layer Hide the Top Two of these Layers
Now is a good time to Resize this if you want it smaller I took mine down to 640x480
Select the Top Layer
Select All - Float - Defloat Copy your Close-Up and Paste as a New Layer Move into Position Invert Selection Delete - Deselect Change the Blend Mode to Luminance or Luminance(L) Pull the Opacity down a little Merge Down Effects - Texture Effects - Weave 1, 3, 1 - Weave Black - Gap White - Fill Checked Drop Shadow - 5, 5, 53 and 14
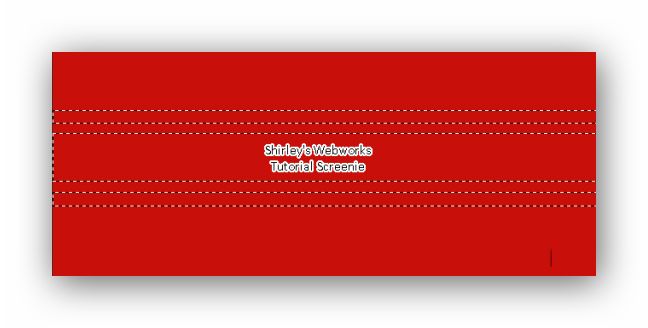
Select the Layer just below your Close-up Add a Layer Change your FG back to Gradient Draw out 3 Selections across your Tag like this
Fill the Top and Bottom Selections with your Gradient Fill the Middle one with your Light Color Deselect Duplicate - Rotate 90 Degrees Left Place Both Sets of Bars where you want them See my Tags for placement Merge these together Drop Shadow - 5, 5, 53 and 14
New Layer - Fill with your Lighter Color Select All - Contract 3 - Delete - Deselect
Select the Top Layer Add your Tube - Move into Position Same Drop Shadow Crop to Merged Opaque
Add your Name, CR Info and License#
Animation Open Animation Shop(AS) In PSP - Copy Merged In AS - Paste as New Animation In PSP - Hide the Bottom Flux Layer and Unhide the Middle one Copy Merged In AS - Paste after Current Frame In PSP - Hide the Middle Flux Layer and Unhide the Top one Copy Merged In AS - Paste after Current Frame View Animation - If you like it, save as a Gif
Here's another sample also using art by Verymany This time, I used contrasting colors in the gradient
If you try this, or any of my Tutorials I would love to see what you made Please Post results and comments on my Fanpage
|