To create this Set you will need: PSP and Animation Shop Both available from Corel A Tube and a Close-Up I used Art by Ismael Rac Tubes and License available from his Store Do not use this art without a proper license Font of choice - I used Beau Rivage Filter Factory S - Pathway to Helion DSB Flux - Bright Noise
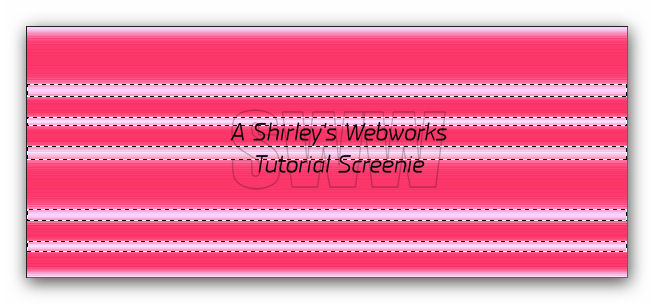
Ready? Let's Begin! Choose a light color for your FG Choose a dark color for your BG Make a FG/BG Gradient on the FG Angle 0 - Repeats 0 New Image - 600x250 Fill with your Gradient
Filter Factory S - Pathway to Helion Power 0 - All others 255 Edge Effects - Enhance - Twice Magic Wand - RGB Value - Add (Shift) Tolerance 20 - Feather 2 Select these areas:
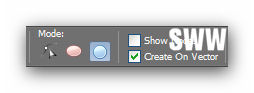
Duplicate Layer Twice for a total of Three Layers On each of these Layers - DSB Flux - Bright Noise Mix - 40 Hit the Mix Button once for each of these Layers Deselect Highlight the top Layer Make your BG the darker color and your FG Null Ellipse Tool - Set Mode to Draw Circle
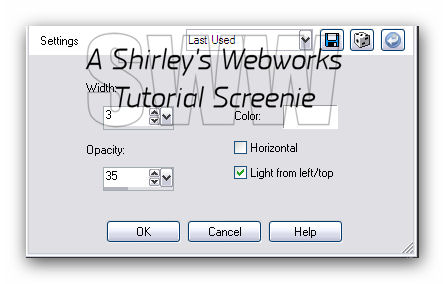
Hold down your Shift key and draw a circle that's taller than your canvas **Holding the Shift Key constrains the shape to a circle** Objects - Align - Center in Canvas Convert to Raster Get out your Move Tool - Click once in the middle of your Circle Use the left Arrow Key to Move the Circle to the Left side of the Tag Duplicate your Circle - Resize 75 to 80% It really depends on how big you made the original circle Click once in the middle of your Duplicate Use the Right Arrow Key to Move the Circle to the Right side of the Tag On Both Circles - Texture Effects - Blinds
Highlight the small Circle layer Select All - Float - Defloat Paste your Close-Up as a New Layer and Position inside the circle Selections - Invert - Highlight the Tube Layer - Delete - Deselect Change the Blend Mode to Soft Light - Merge Down Add this Drop Shadow to both Circles - 0, 0, 63 and 16
New Layer - Fill with a darker color to match your Tube Select All - Contract 5 - Delete Expand 1 - Invert - Fill with a light color - Deselect Drop Shadow - 0, 0, 85 and 5
Paste your Tube as a New Layer Send to Top if it's not already there Move left and give it a Blurry Drop Shadow Crop your Tag New Layer - Fill with a dark color Select All - Contract 1 - Delete - Deselect Add your Name, CR Info and License Number if necessary Hide your three DSB Fluxed BG Layers and Merge Visible
ANIMATION Hide your top two DSB Flux layers - Edit - Copy Merged In Animation shop - Edit- Paste as new animation Back in PSP- Hide the bottom and top DSB Flux layers and unhide the middle one Edit - Copy merged In Animation shop - Edit - Paste after current frame Back in PSP- Hide the bottom and middle DSB Flux layers and unhide the top one Edit-copy merged In Animation shop - Edit- Paste after current frame View animation- If you like it, save as a gif and you're done!
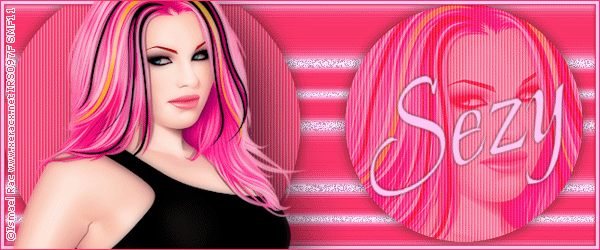
Sample Sets:
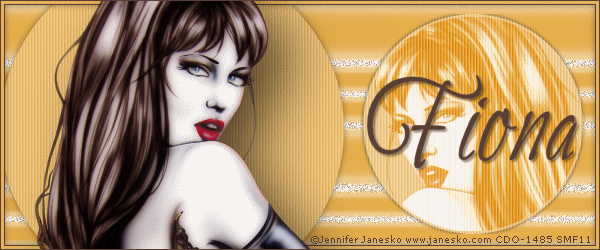
The Set that inspired this Tutorial - Art by Jennifer Janesko Tubes and License to use her Art are available at CDO
If you try this or any of my Tutorials, I would love to see what you made! Please leave a link in the comments section on my Blog
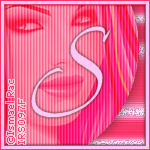
Tutorial Idea, Tags/Avis ©Shirley Franklin www.shirleyswebworks.com
|