|
To create this set you will need: A Tube I used art by Ismael Rac Tubes and License are available at his Store Font of choice - I used Johanna Whimsy JF Filters Unlimited 2.0 Dsb Flux - Bright Noise MuRa's Meister - Copies
Ready? Let's Begin!
Note: Having done this Tutorial a couple of times, I can tell you that it doesn't work so well with Darker colors
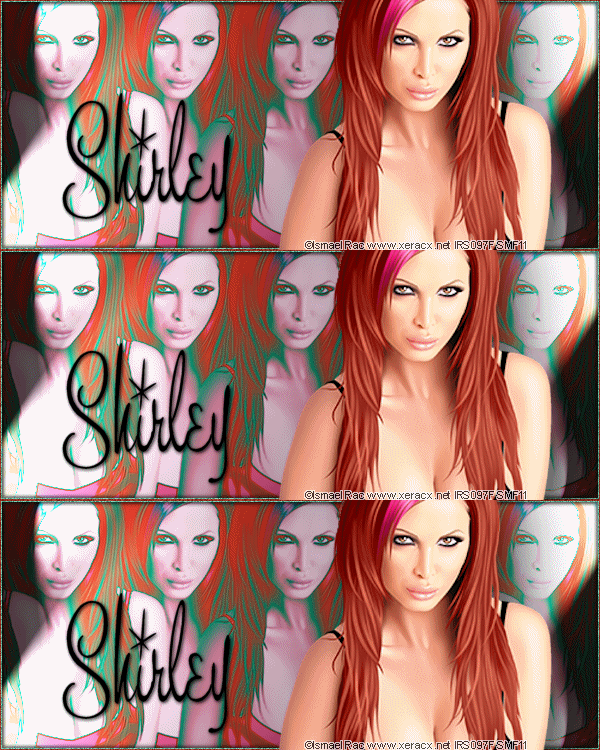
New Image - 600x250 Copy your Tube and Paste as a New Layer on your Tag Keep it in the middle, but move it up or down so the part you want showing is dead center Crop your Tag to 600x250 MuRa's Meister - Copies Line Preset - Change the number to something you like Top Tag used 5 - Bottom Tag used 3
If you haven't covered the entire background: Duplicate Layer - Send to Bottom Still on that Layer - Image - Flip - Merge Visible
Filters Unlimited 2.0
Choose a gradient from the list - Hit Select - Then Apply
Use the sliders to change the intensity of the Gradient-just play with it
Effects - Illumination Effects - Lights
At this point on both Tags, I duplicated this Layer and changed the Blend Mode to Screen to lighten it up then merged them together It may not be necessary on your Tag
Paste your Tube as a New Image and Send to top if necessary Place as desired and give it a blurry drop shadow Crop your Tag
Make a New Layer and drag it between your BG Layer and Tube Layer Choose contrasting colors from your Tube for your FG and BG
Fill your New Layer with your BG Color Select All - Contract 2 - Delete Keep Selected - Expand Selection 1px - Invert Fill with your FG Color- Deselect Drop Shadow - 1, 1, 100 and 3 then -1, -1, 100 and 3
Duplicate this border Layer twice for a total of three Layers Magic wand tool - Mode - Add (shift), RGB Value Tolerance and Feather 0
Click on the FG color in your border DSB Flux - Bright Noise 36 - Lighter checked Do this on each of these three Layers Hit the Lighter button once each time
Now it's time to add your Name, CR and License# if necessary
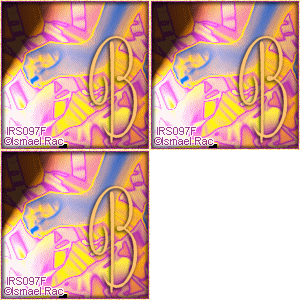
ANIMATION Hide your top two DSB Flux layers - Edit - Copy Merged In Animation shop - Edit- Paste as new animation Back in PSP Hide the bottom DSB Flux layer and unhide the middle one Edit - Copy merged In Animation shop - Edit - Paste after current frame Back in PSP Hide the middle DSB Flux layer and unhide the top one Edit-copy merged In Animation shop - Edit- Paste after current frame View animation- If you like it, save as a gif and you're done!
Sample Sets
I love to see results, so if you try one of my tutorials, I would love to see what you made Please post a link in the comments section on my Blog
Tutorial idea, Tags/Avis ©Shirley Franklin www.shirleyswebworks.com
|


