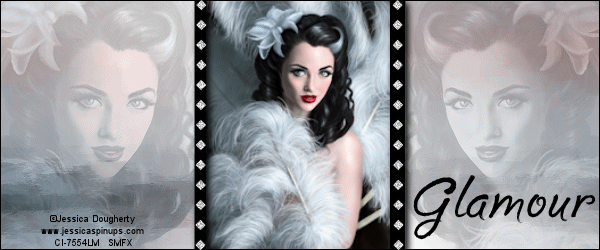
GLAMOUR To make this Set you will need: PSP-I used X3, but any version should do Animation Shop An Image-NOT a tube The image should be taller than it is wide I used this absolutely gorgeous image by Jessica Dougherty Do not use her art without a proper license from CILM Filters needed: Penta-Drag MuRa Meister-Copies Xero-Nostalgia and Greyscaler Ready? Lets begin... New Image-600x250 FG-Black, BG-White Make a gradient on the Fg - Angle 45-Repeats 1 Distortion Effects - Pixellate - 16 symmetric checked Edge Effects - Enhance - Repeat Enhance Artistic effects - Brush Strokes
Copy your Artist Image and paste as a new layer on your tag MuRa Meister-Copies-Wallpaper Rotate-Default Crop your tag to 600x250 Adjust Blur-Radial Blur
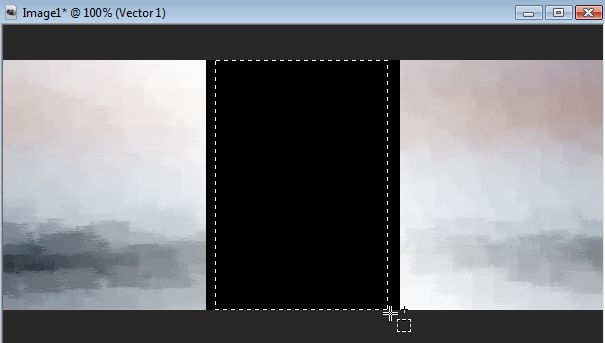
Duplicate-change the blend mode to hard light-Mirror Merge these two layers together Penta-Drag-Threshold 2 Repeat Brush Strokes on this layer--Blend mode to hard light Merge Visible Rectangle Tool- BG-Black, FG-Null Drag out a rectangle in the middle of your canvas
Objects-Align-Center in Canvas-Rasterize Rectangular Selection Tool-Select an area inside your black rectangle
DELETE-KEEP SELECTED - This will be your Frame Back to your Artist Image- resize to 250 height -edit-copy-undo resize On your Tag- Modify-Expand selection by 1 New Layer-drag it under your Frame Layer and Paste into Selection Deselect-Highlight the Frame Layer-Drop Shadow- 3, 3, 100 and 10 Merge Frame and Image together Merge Background Layer with the one above it Now you should have two layers- Background and Framed Image Highlight your BG layer Copy your Image again and paste as new layer on your tag Position it on the right side - Duplicate - Mirror Highlight the Layer with Image on the right side- Xero-Greyscaler-Default-Opacity 30 Highlight the Layer with Image on the Left side- Xero-Nostalgia-Default-Opacity 30 Crop your Tag to 600x250 Merge Visible New Layer-Fill with black-select all-modify-contract 1-DELETE-Deselect
Time to get what we need for our Avatar Highlight the bottom layer-Edit Copy-Edit Paste as New Image Resize to 150 height and use the Crop tool to crop out the part you want for your Avi Time to add your Name, Copyright Info and Licence #s if necessary to both Tag and Avi
Back to the Tag Highlight the bottom Layer Line Tool-Point to point -Line Style-Diamonds-Width 6 Working on the right side of the Frame, Click once at the top and once at the bottom to create the line Rasterize- Center in the Right side of the Frame-Duplicate-Mirror- Position both lined like shown in my sample Tag Merge together-Drop Shadow-1, 1, 100, 1 Duplicate your Diamonds layer twice for a total of 3 layers DSB Flux-Bright Noise-Mix 43 on all 3 Diamonds Layers For the bottom one hit Mix once For the middle one, hit Mis twice For the top one, hit Mix three times So now you should have 5 layers The Tag as the Bottom Layer The Three Diamonds Layers The 1px border for the Top Layer
ANIMATION Fire up Animation Shop Hide the top two Diamonds Layers-Edit-Copy Merged In Ani Shop-Paste as New Animation Un-hide the middle Diamonds Layer-Hide the Bottom one-Edit-Copy Merged In Ani Shop-Paste after current frame Un-hide the top Diamonds Layer-Hide the Middle one-Edit-Copy Merged In Ani Shop-Paste after current frame View-Animation to make sure it looks good and save as a .gif Sample Avi
That's it-we're done! Thank you for trying my Tutorial! I really love seeing results, so please post a link to them in the comments section on my Blog
Tutorial, Tags/Avis ©Shirley Franklin / www.shirleyswebworks.com 
|