Beauty Revealed
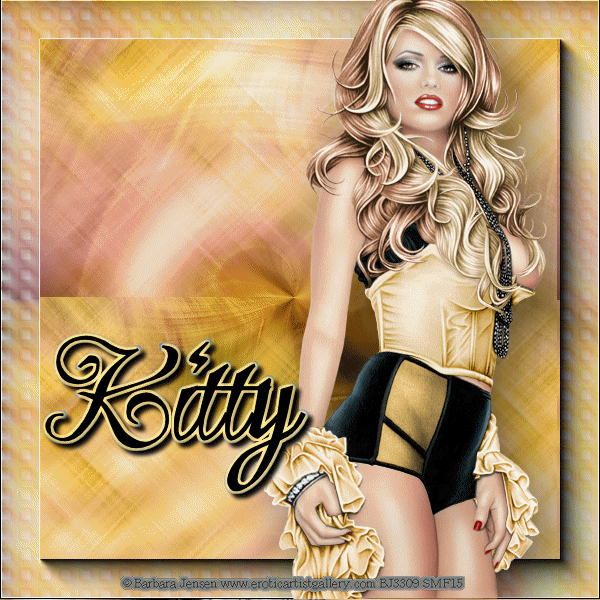
4/8/15 This Tag was created in PSPX5 and Animation Shop To create this Tag you will need: A Tube and a Closeup I used Art by Barbara Jensen Tubes and License available HERE
Filters Needed: MuRa Meister Copies Plugin AB 03 - Wierd Angles AAA Frames - Foto Frame Xero - Porcelain
Ready? Let's Begin! Keep in mind that this Tag will look different with every Tube Copy your Tube and Paste as a New Image Resize to 600x600 All Layers - Lock Ratio Unchecked MuRa Meister Copies - Tiling(Feedback) - Default Settings Adjust - Blur - Motion Blur Angle 45 - Strength 100% - TWICE Effects - Edge Effects - Enhance Duplicate Layer - Flip Horizontal (Mirror) Change Blend Mode to Screen or a different one you like better - Merge - Duplicate Plugin AB 03 - Wierd Angles
If you like the Colors here, them move on to the next step If not, then set a color you like as your FG Paint the Layer with the Change to Target Brush Pull the Opacity down to 75 or so Merge Visible
Duplicate Layer Effects - Texture Effects - Weave
Edge Effects - Enhance
AAA Frames - Foto Frame - Default Settings Select All - Contract 40 - Delete Expand Selection 3 Select the BG Layer - Promote Selection to Layer Hide this Layer for now - Deselect
Now you should have 3 Layers Top Frame Layer Promoted Selection Layer in the Middle BG Layer
Choose the Top Frame Layer Edge Effects - Enhance
Choose the BG layer Paste your Close-Up Tube as a New Layer Xero - Porcelain Default Settings Adjust - Hue and Saturation - Both Sliders to 0 Drop Shadow - 20, 20, 58 and 100 Merge Down
**If you don't want to animate, skip this step** Hide the BG and Promoted Selection layers Make a New Layer Between them On this New Layer we're going to make some placement marks They won't show in the end because they'll be under the Top Frame Layer Select the Paint Brush Tool Use the +Round 05 Brush Size 5 - Hardness 25 - Opacity 100 Make a small mark with the Brush in each of the 4 corners of the Promoted Selection Like This:
Merge Down - Unhide All Layers See? Your Dots are now invisible, but they'll be there when you need them Later
Let's finish our Tag Add your Tube - Drop Shadow - 20, 20, 50 and 100 Add your Name, CR Info and License# Crop to Merged Opaque
ANIMATIONChoose the Promoted Selection Layer Select All Edit - Copy Fire up Animation Shop(AS) Edit - Paste as a New Animation Effects - Insert Image Transition Animation Frame Checked
Hit the Customize Button
Scroll back to the First Frame - Click to Select - Delete You should have 42 Frames
Go back to PSP Choose the BG Layer Edit - Copy Back in AS Paste as a New Animation Hold down the CTRL Key and press the "L" Key until you have 42 Frames Choose the First Animation Edit - Select All Edit - Copy Choose the Second Animation Edit - Select All Edit - Paste Into Selection Here's where your placement marks will help ;) Line it up and click to place This is your Tag Delete the First Animation
On your Tag Select All - Animation Frame - Reverse Frames - Edit - Copy Undo - Edit Reverse Frames Scroll to the Last Frame and Click to Select it Edit - Paste After Current Frame Now you should have 84 Frames
Back in PSP Hide your BG and Promoted Selection Layers Copy Merged
Back to AS Paste as a New Animation Hold down the CTRL Key and press the "L" Key until you have 84 Frames Edit - Select All - Edit - Copy Go to your Tag Edit - Select All - Paste Into Selected Frame Line it up and Click to Place That's it, save as a Gif and you're done
Another Sample, also with Barbara Jensen Art
This is the Tag that Inspired this Tutorial I couldn't remember how I made the BG or the Ani Settings , so I did it differently for this Tutorial
If you try this, or any of my Tutorials I would love to see what you made Please Post results and comments on my Fanpage
|