8/27/2013 To create this Tag you will Need: A Tube I used art by Jennifer Janesko Tubes and License available at CDO An Image with lots of Contrast I used one from Morguefile Plugins AB 02 - Agnesi
***This Tutorial works best with Later versions of PSP and in B/W*** ***Instructions for working this Tut in Earlier Versions and in Color are in RED below***
My Selection HERE - Unzip into your Selections Folder My Overlay
Just right-Click and save to your Computer
Ready? Let's Begin! Open a New Image - 900X650 Select All On your Image - Promote to Layer Select All On your New Image - Paste Into Selection Deselect My Image was in color and I wanted it B/W Adjust - Hue, Saturation and Lightness - Both sliders to 0 Effects - Texture Effects - Weave From top - 1, 4, 2 - White for both colors
Copy my Overlay New Layer - Paste into Selection Deselect Change the Blend Mode I used Hard Light, but you may like another better Play with it til you like it Pull down the opacity a bit Merge Down
New Layer Load my Selection Fill with Black or Color of Choice Deselect
Open your Effects Browser Choose Jumble Streaks
My Tester has informed me that this Effects Browser setting is not available in all versions of PSP And if it is, it still doesn't work well with Color For those of you having trouble with it, I have made a PNG of that Element of the Tag
Just Right-Click and save to your Computer Place this in position on your Tag If you want it to be Colored, Select All - Float - Defloat New Layer - Fill with your Color Delete the original - Deselect
New Layer Selection Tool Selection Type Rectangle - Mode Add(Shift) Draw out a thin rectangle on the right and left sides of your Tag Fill with Black or color of choice Deselect - Same Drop Shadow Merge Down Drop Shadow - 0, 0, 50 and 25 - TWICE
Resize - Lock and All Layers Checked 650X469
Highlight the Layer with the Element and Side Borders Magic Wand - Default Settings Click in the Transparent area on the left side Expand Selection by 1 Highlight the Bottom Layer Promote Selection to Layer Deselect Duplicate Twice for a total of Three of these Layers
Starting from the Top Plugins AB 02 - Agnesi Change the Factor 1 Slider to 48 On the Middle one Change the Factor 1 Slider to 58 On the Top one Change the Factor 1 Slider to 68 Change the Blend mode to Screen or another one you like Hide the bottom Two of These Layers
Highlight the Top Layer Paste your Tube as a New Layer Move into Position Apply the same Drop Shadow as before Add your Name, CR Info and License
ANIMATION Fire up your Animation Shop (AS) In PSP Edit - Copy Merged In AS - Paste as a New Animation In PSP Hide the Top Agnesi Layer Un-Hide the Middle one Edit - Copy Merged In AS - Paste as After Current Frame In PSP Hide the Middle Agnesi Layer Un-Hide the Bottom one Edit - Copy Merged In AS - Paste as After Current Frame Save as a Gif and you're done!
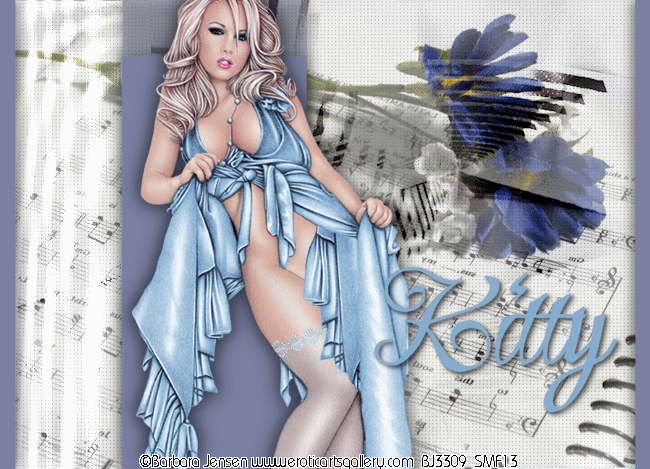
A Colored Sample with Art by Barbara Jensen Tubes and License Available HERE
Another Sample Art by Jennifer janesko
If you try this, or any of my Tutorials I would love to see what you made Please Post results and comments on my Fanpage |